How to Avoid Common Mistakes When Coloring

Coloring seems like the easiest thing in the world, right? Grab some supplies, pick a page, and let your creativity run wild.
But then it happens. A streaky patch here, a smudged section there, and suddenly your stress-relieving coloring session feels more like a stress-inducing disaster.
Coloring is supposed to be fun, relaxing. But like anything worth doing, it comes with a bit of a learning curve.
Most mistakes are totally avoidable with a little know-how and some solid tips. Whether you’re brand-new to coloring or just looking to level up your game, this guide will walk you through how to dodge the most common coloring mishaps and make every page frame-worthy.
Why Mistakes Happen (and Why That’s Okay)
Mistakes happen to everyone. Yes, even those Instagram artists with flawless blends and jaw-dropping details. Mistakes aren’t a sign that you’re bad at coloring they’re just part of the learning process.
The key is to recognize the common pitfalls and have a plan for working through them.
Common Coloring Mistakes (and How to Avoid Them)
1. Choosing the Wrong Paper
Let’s start with the foundation: your paper. Using the wrong type of paper is like building a house on sand, it doesn’t matter how good your coloring skills are; the results will suffer.
- The Mistake: Using cheap, thin paper that can’t handle layers or blending.
- The Fix: Choose high-quality paper designed for your medium. For pencils, go for paper with a bit of “tooth” (texture). For markers, pick thick, smooth paper that prevents bleed-through. Mixed-media paper is a great all-around option.
Pro Tip: Always test your tools on a scrap piece of the same paper before diving into your project.
2. Pressing Too Hard Too Soon
We’ve all been there: you want bold, vibrant colors, so you press down like your life depends on it. But all you end up with is shiny, waxy paper that refuses to take any more layers.
- The Mistake: Applying too much pressure too early, flattening the paper’s texture and limiting your ability to layer.
- The Fix: Start light and build up. Use a soft touch for your initial layers and gradually increase pressure as you go.
Pro Tip: Save heavy pressure for the final burnishing step when you’re ready to lock in those vibrant colors.
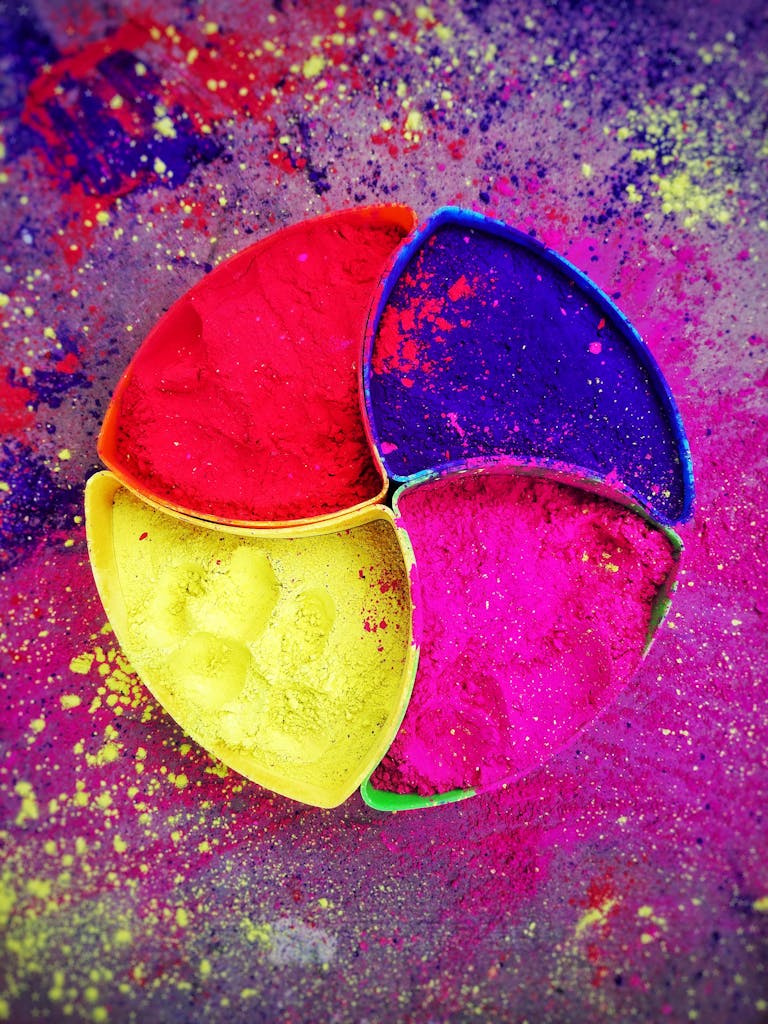
3. Ignoring the Color Wheel
Color theory might sound boring, but trust me—it’s a game-changer. Ignoring the basics of color harmony can lead to clashing combos that make your page look chaotic instead of cohesive.
- The Mistake: Pairing colors that don’t complement each other.
- The Fix: Spend a few minutes with the color wheel. Learn about complementary colors (opposites on the wheel) and analogous colors (neighbors on the wheel) to create palettes that flow beautifully.
Pro Tip: Stick with a limited color palette to avoid overwhelm and ensure everything looks cohesive.
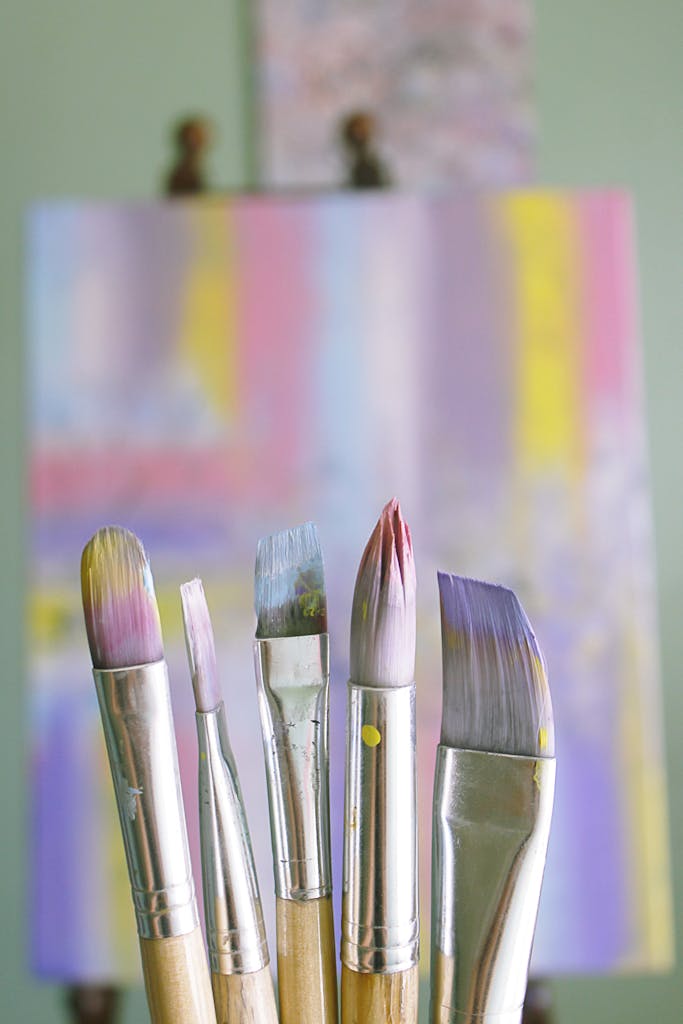
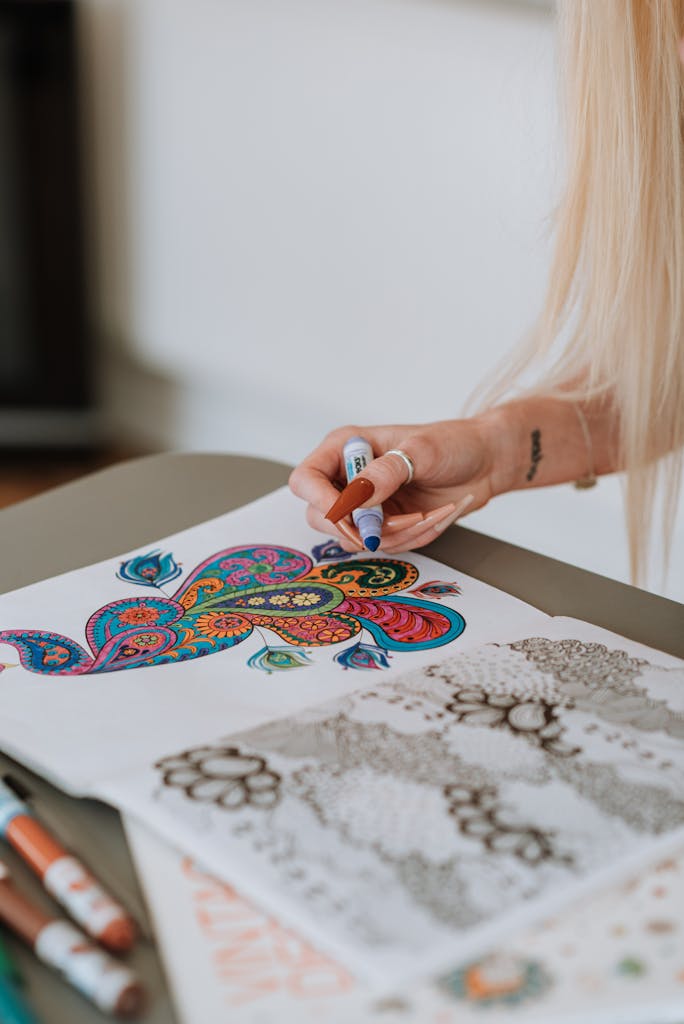
4. Streaky Marker Work
Markers are amazing for bold, smooth color—until they’re not. Streaks are the bane of many a marker enthusiast, but they’re totally preventable with the right technique.
- The Mistake: Using inconsistent strokes or letting the ink dry mid-section.
- The Fix: Work in small sections and use overlapping, even strokes. Keep a consistent direction to avoid streaks.
Pro Tip: Use a blender marker or a lighter shade to smooth out streaks and create seamless gradients.
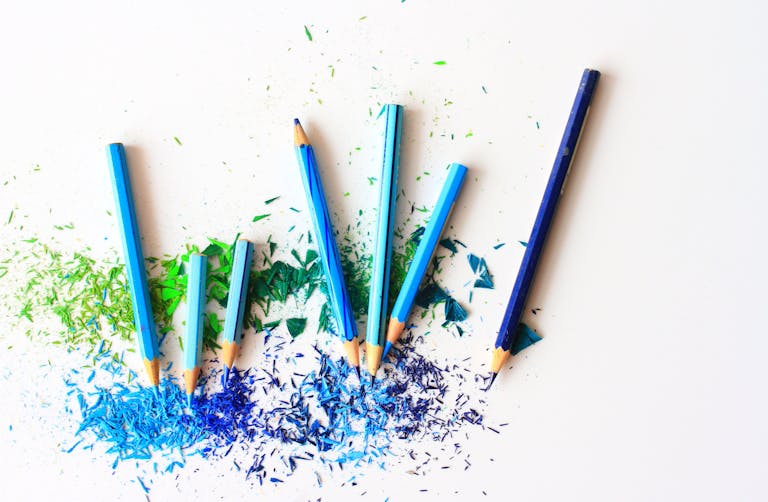
5. Overworking the Paper
It’s easy to get caught up in the details, but overworking your paper is a surefire way to ruin a good thing. You’ll know it’s happening when the paper starts to pill (those annoying little fuzzies) or tear.
- The Mistake: Layering or blending so much that the paper breaks down.
- The Fix: Know when to stop. Let layers dry or rest before adding more, and use a gentle touch when blending.
Pro Tip: If you notice pilling, stop immediately and let the area dry completely before attempting to fix it.
6. Forgetting About Light and Shadow
Flat coloring is fine if that’s your vibe, but adding light and shadow can take your work to the next level. Skipping this step is like leaving a cake unfrosted—it’s still good, but it could be so much better.
- The Mistake: Coloring everything the same way, with no variation in tone.
- The Fix: Think about your light source. Where is the light hitting? Which areas would be in shadow? Use lighter tones for highlights and darker shades for shadows to create depth.
Pro Tip: Use a white pencil or gel pen to add highlights at the end for extra pop.
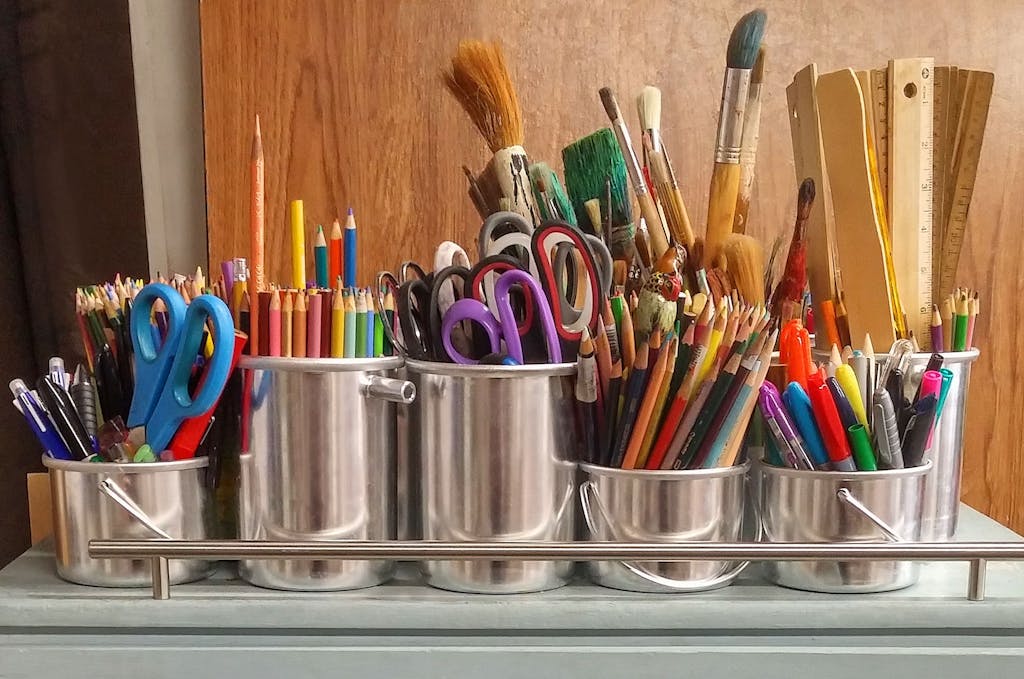
7. Using the Wrong Tools
Not all coloring tools are created equal. Using low-quality supplies can lead to frustration, no matter how skilled you are.
- The Mistake: Using cheap markers or pencils that don’t blend well or have poor pigmentation.
- The Fix: Invest in quality supplies. You don’t need to break the bank, brands like Prismacolor (for pencils) or Ohuhu (for markers) offer great options at reasonable prices.
Pro Tip: Take care of your tools! Store markers horizontally and keep pencils sharpened for the best results.
8. Skipping Swatches
This might sound like an extra step, but trust me—swatching your colors before you start can save you from some serious heartache.
- The Mistake: Assuming the color on the pencil/marker matches the actual color. (Spoiler: It doesn’t.)
- The Fix: Create a swatch sheet for every set of supplies you own. This lets you see how colors look on your chosen paper and how they layer or blend with each other.
Pro Tip: Label your swatches so you can quickly reference them while working.
9. Not Planning Ahead
Coloring is supposed to be relaxing, but a little planning can go a long way. Diving in without a plan often leads to mismatched sections or colors that don’t flow.
- The Mistake: Coloring sections randomly without considering the overall design.
- The Fix: Take a moment to visualize the finished piece. Pick a color scheme and decide where each color will go before you start.
Pro Tip: Lightly outline areas with a soft pencil to map out your plan before committing with markers or pens.
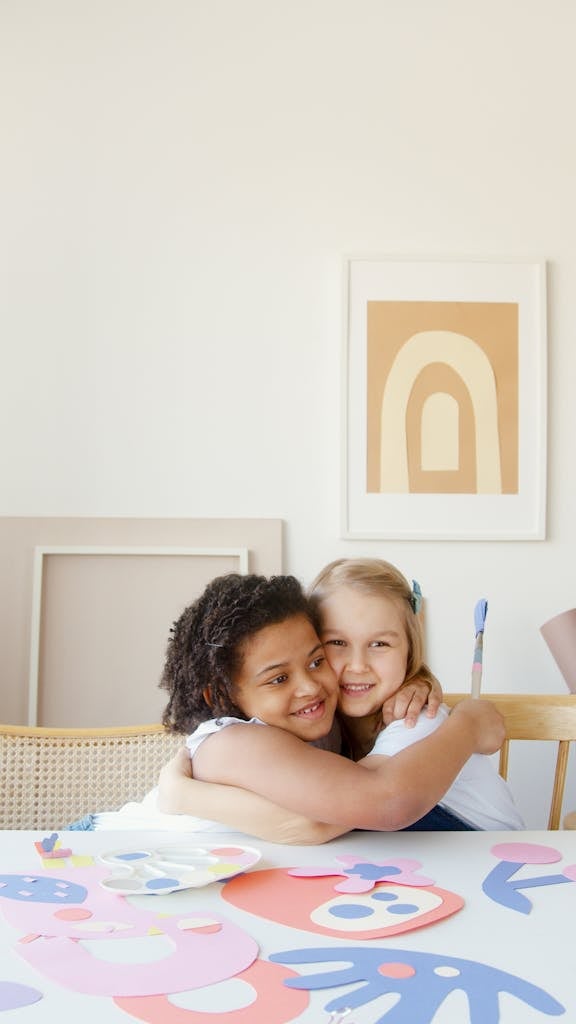
10. Rushing Through the Process
Look, we’ve all been tempted to speed through a page to see the final result. But coloring is as much about the journey as the destination.
- The Mistake: Rushing and making sloppy mistakes.
- The Fix: Slow down and enjoy the process. Coloring isn’t a race—it’s a chance to relax, unwind, and create something beautiful.
Pro Tip: Set aside dedicated time for coloring when you won’t feel rushed or distracted.
Bonus Tips for Flawless Coloring
1. Blend Like a Pro
Whether you’re using pencils, markers, or pastels, blending is your best friend. Use blending tools like stumps, colorless blenders, or even a cotton swab to smooth transitions and create depth.
2. Layer, Don’t Press
Building up layers of color is far more effective than pressing hard for boldness. Start with a light touch and add multiple layers to achieve the desired intensity.
3. Protect Your Workspace
Bleed-through and smudges are the enemies of a clean workspace. Place a protective sheet under your coloring page to prevent accidents.
4. Experiment and Have Fun
At the end of the day, coloring is all about expressing yourself. Don’t be afraid to try new techniques, mix mediums, or go outside the lines.
Wrapping It Up
Mistakes are part of the process, but they don’t have to define your coloring experience. With these tips and tricks, you’ll be well on your way to creating pages you’re proud of and having fun while you’re at it.
Remember: it’s not about being perfect; it’s about enjoying the ride and learning something new along the way.