Coloring with Confidence: How to Develop Your Unique Style
Let’s get one thing straight: there’s no “right” way to color.
Sure, there are techniques and tools to learn, but at the end of the day, coloring is your thing. It’s about finding your flow, expressing yourself, and creating something that feels uniquely you.
But developing a personal style can feel overwhelming, especially when you’re bombarded with Pinterest-perfect pages and jaw-dropping Instagram art. Sound familiar?
Your style doesn’t come from copying what everyone else is doing. It comes from experimenting, making mistakes, and figuring out what lights you up inside.
So, if you’ve ever thought, “I’ll never be as good as them,” it’s time to flip that script. This guide is all about helping you color with confidence and develop a style that’s 100% your own.
Why Developing Your Style Matters
Coloring isn’t just about filling in shapes with pretty colors. It’s about telling a story, creating a vibe, and putting your personal stamp on a page.
Here’s what having your own style does for you:
- Builds Confidence: When you know what works for you, you stop second-guessing every color choice.
- Makes Your Work Recognizable: Your style becomes your signature, whether it’s bold and vibrant or soft and subtle.
- Keeps Things Fun: When you focus on your preferences, coloring stops being stressful and starts being pure joy.
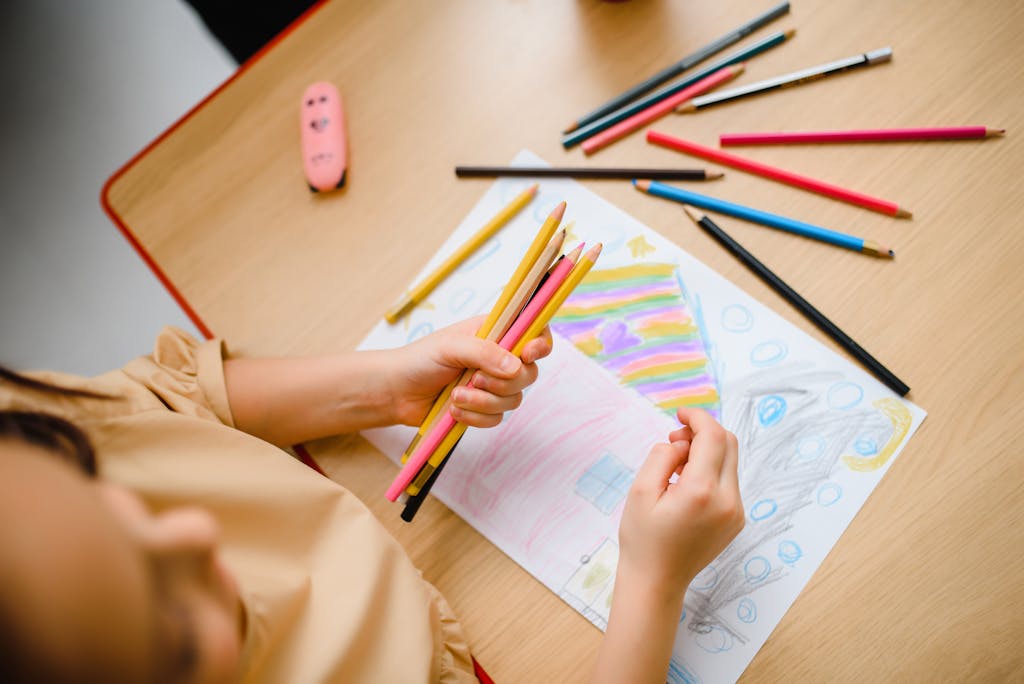
Step 1: Embrace the Beginner Stage
First things first, let’s address the elephant in the room: you don’t need to be “good” at coloring to start finding your style. In fact, being a beginner is the perfect time to experiment. No pressure, no rules just pure exploration.
- Tip: Let go of perfectionism. Every page doesn’t have to be a masterpiece.
- Mindset Shift: Instead of aiming for “perfect,” focus on learning something new with every page.
Remember, even the pros started somewhere. The difference? They didn’t give up.
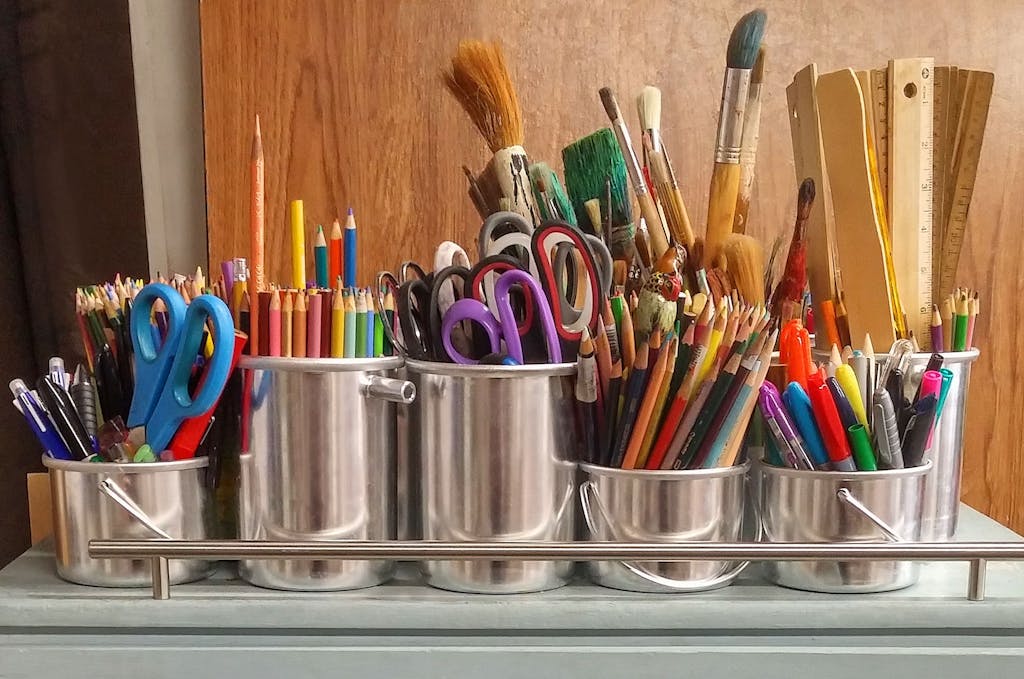
Step 2: Experiment with Tools and Mediums
Your tools are like your coloring arsenal. The more you try, the more you’ll figure out what you love (and what you don’t).
Start With the Basics
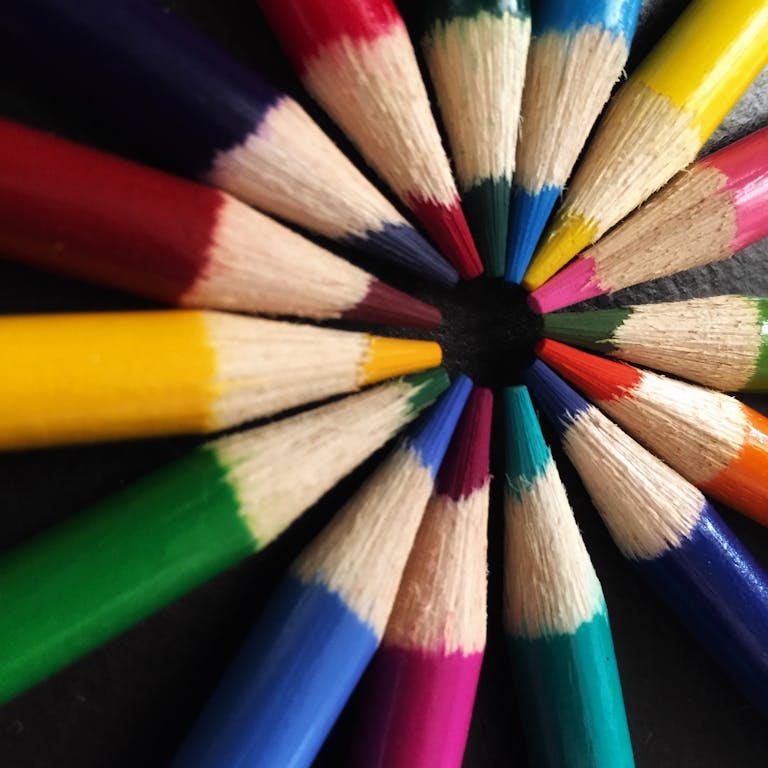
- Colored Pencils: Great for layering, blending, and creating soft textures.
- Markers: Perfect for bold, vibrant looks. (Just don’t forget the bleed-through protection!)
- Gel Pens: Add sparkle, metallic effects, or fine details to make your pages pop.
Then, Branch Out
Once you’ve mastered the basics, try adding some flair:
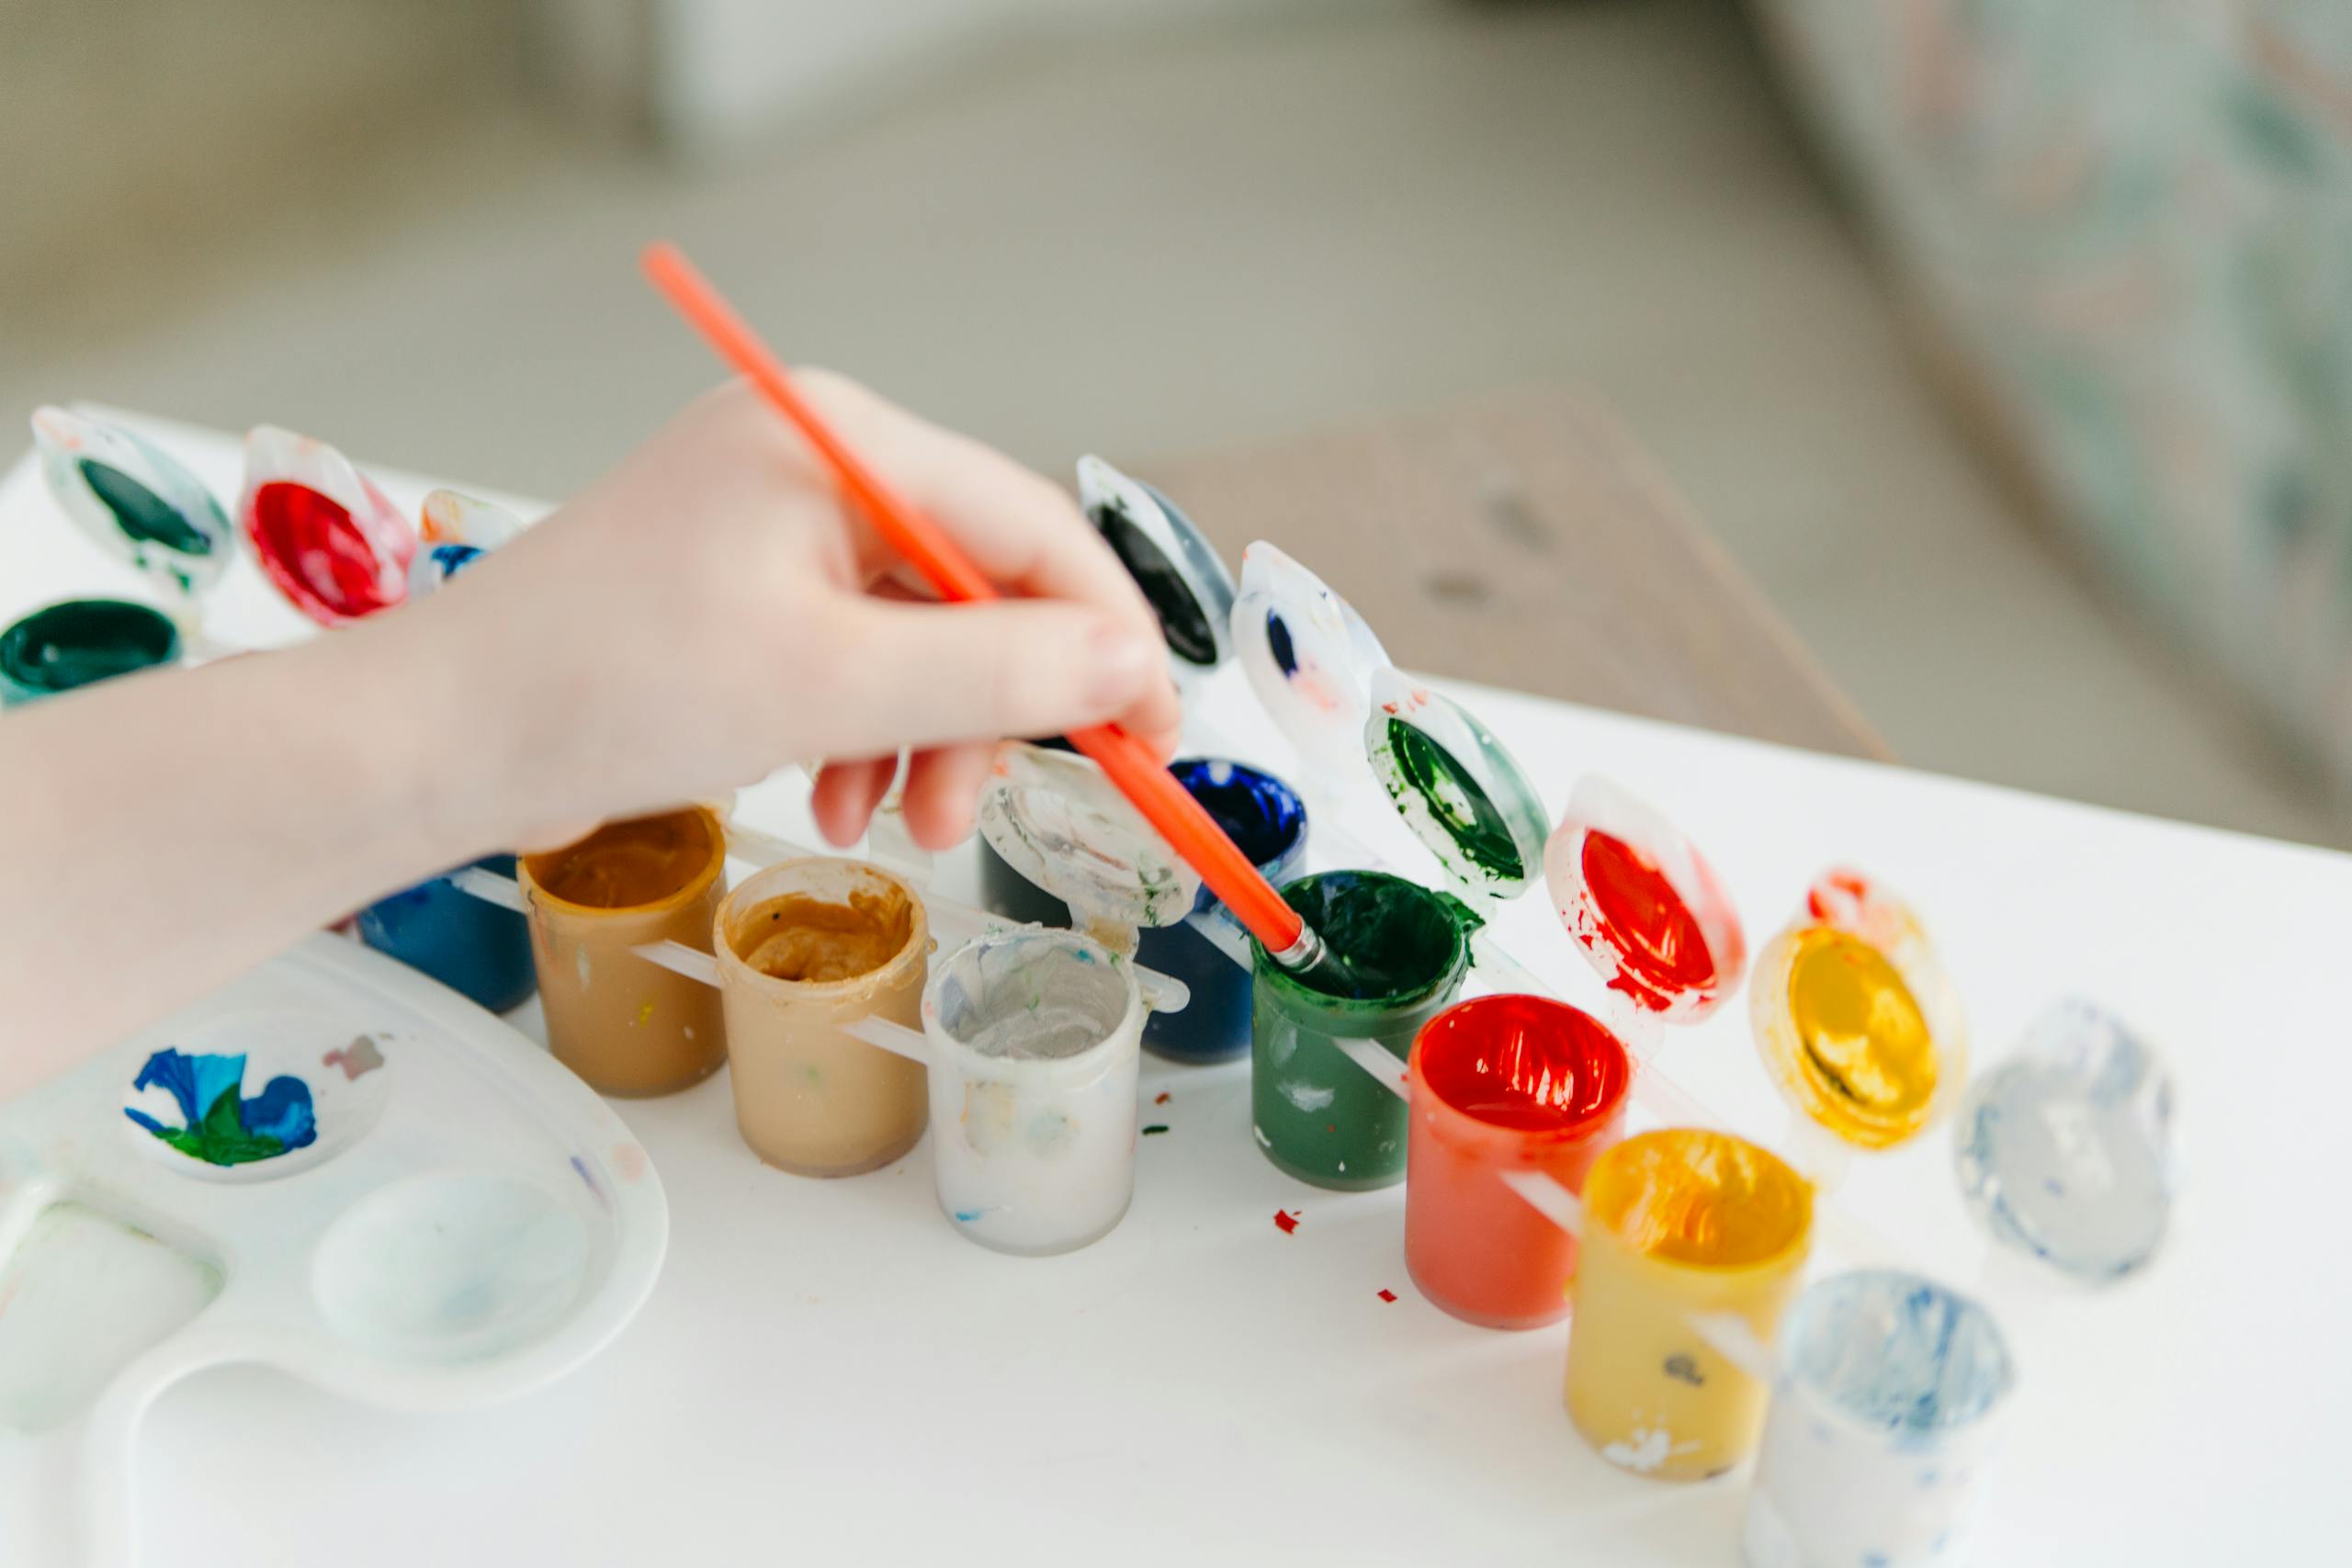
- Watercolors: For dreamy, blended backgrounds.
- Pastels: Ideal for soft, chalky effects.
- Mixed Media: Combine tools (like pencils and markers) for unique results.
Pro Tip: Keep a “test page” handy to experiment with new tools before committing to a full design.
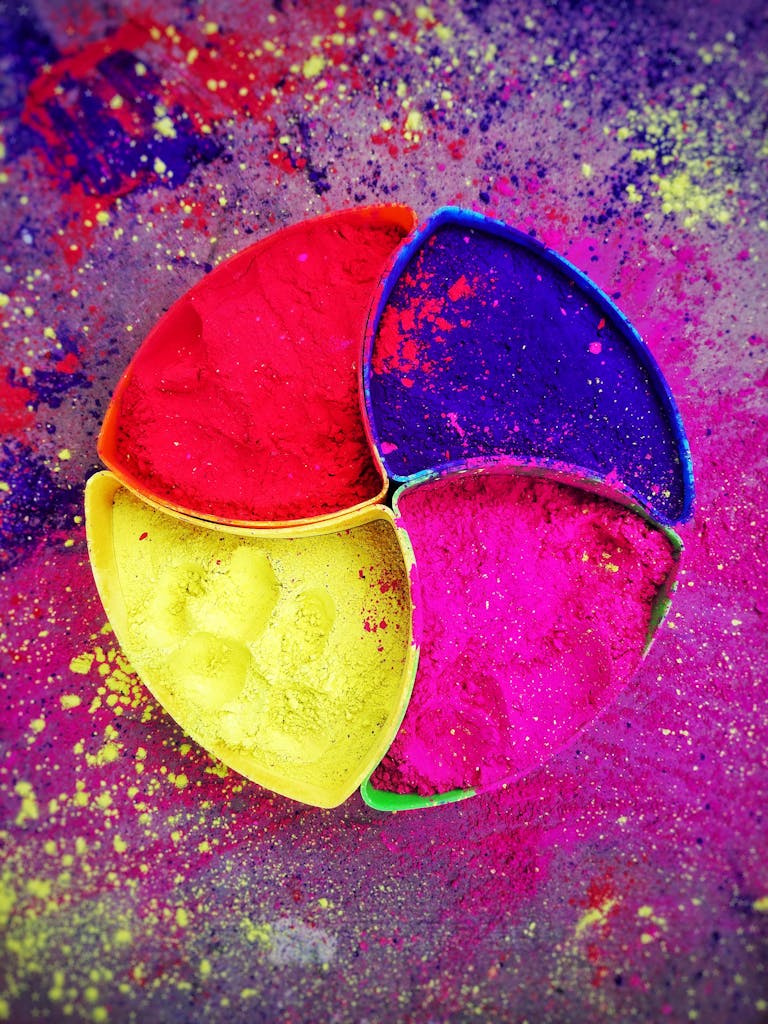
Step 3: Play with Color Palettes
Color is the heart of your style. How you combine shades and tones can completely transform your work.
Explore the Color Wheel
Start with the basics of color theory:
- Complementary Colors: Opposites on the wheel (like blue and orange) create contrast.
- Analogous Colors: Neighbors on the wheel (like green, blue, and purple) give a harmonious vibe.
- Monochromatic Palettes: Different shades of the same color family feel cohesive and sophisticated.
Find Your Vibe
Think about the emotions or themes you want to convey.
- Bold and Bright: High-energy palettes with lots of contrast.
- Soft and Pastel: Calming shades that feel dreamy and delicate.
- Earthy and Neutral: Warm, grounded tones for a natural look.
Pro Tip: Create a swatch book of your favorite color combos to reference for future projects.
Step 4: Master the Art of Layering
Layering is a game-changer when it comes to adding depth and personality to your pages. It’s also a great way to develop your own style, because how you layer will be uniquely yours.
Start Simple
- Base Layer: Start with light, even strokes to create a foundation.
- Mid Tones: Build up color gradually, focusing on shadows and dimension.
- Highlights: Use lighter shades or a white pencil for areas that catch the light.
Make It Yours
Experiment with unconventional layers:
- Try layering unexpected colors (like pink under orange) for unique tones.
- Use crosshatching or stippling instead of traditional shading.
Pro Tip: Don’t be afraid to mix and match tools. Layer colored pencils over markers for a blended, polished finish.
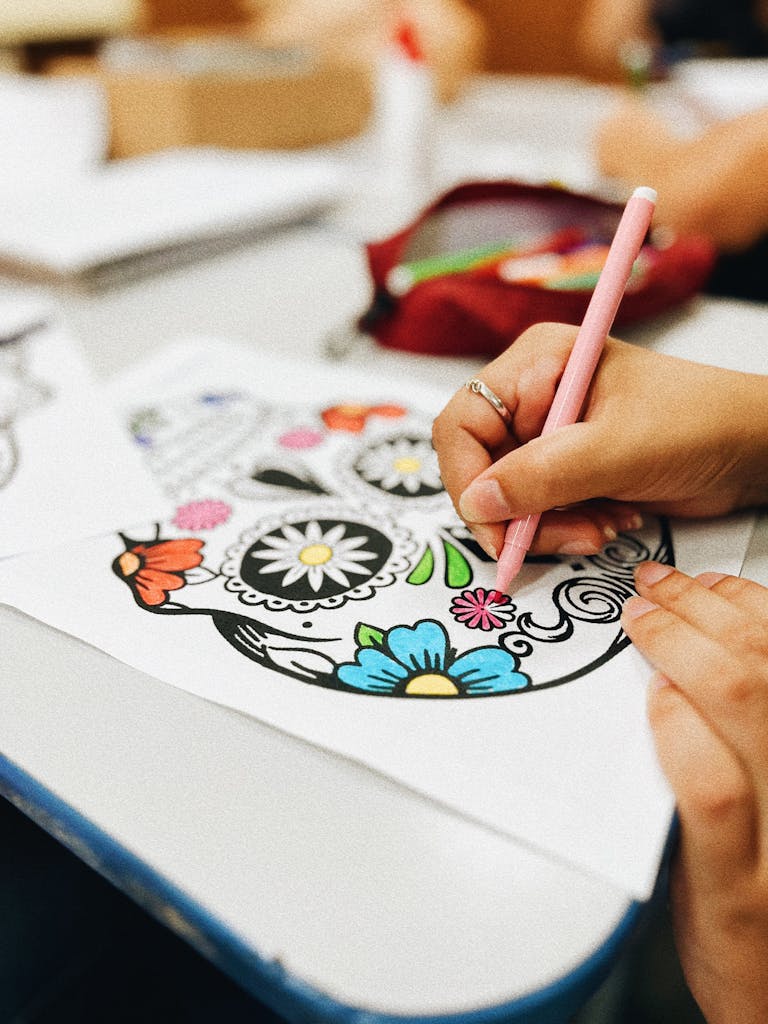
Step 5: Add Details That Define You
The details are where your style really shines. Whether it’s tiny patterns, bold outlines, or glittery accents, your signature touch will set your work apart.
Explore Different Techniques
- Outlining: Use a black or white pen to make elements stand out.
- Textures: Add patterns like dots, lines, or swirls to create visual interest.
- Accents: Use gel pens, metallics, or even stickers for a little extra flair.
Find What Feels Right
Ask yourself: What details do I enjoy adding the most? That’s your signature.
Step 6: Take Inspiration, Not Imitation
It’s easy to fall into the trap of comparing yourself to others. Social media is full of stunning art, but here’s the thing: your work doesn’t have to look like anyone else’s.
How to Use Inspiration Wisely
- Study Techniques: Learn shading, blending, or color combos from artists you admire.
- Adapt Ideas: Take what you love and make it your own. For example, if you adore someone’s color palette, try using it in a completely different design.
- Avoid Copying: Replicating someone else’s work might help you learn, but it won’t help you find your style.
Pro Tip: Keep an inspiration folder or Pinterest board to save ideas that resonate with you.
Step 7: Practice, Practice, Practice
Here’s the unglamorous truth: your style won’t magically appear overnight. It takes time, effort, and lots of pages.
Make Time for Coloring
- Daily Practice: Even 10 minutes a day can add up to major progress.
- Experiment Often: Try new tools, techniques, or styles every chance you get.
Track Your Progress
- Keep your old pages so you can see how far you’ve come.
- Celebrate small wins, like mastering a new technique or nailing a color combo.
Pro Tip: The more you practice, the more natural your style will feel. Stick with it—you’re growing even when it doesn’t feel like it.
Step 8: Trust Your Instincts
The final piece of the puzzle? Trust yourself. Your style is already there—it just needs time to come out. When you stop worrying about “doing it right” and start coloring for you, that’s when the magic happens.
Listen to Your Preferences
- What tools do you reach for most often?
- What colors make you feel happy and inspired?
- What techniques feel the most fun or natural?
Let Go of Perfection
- Mistakes are part of the process. (Pro tip: most of them can be fixed!)
- There’s no “wrong” way to color, as long as you’re enjoying yourself.
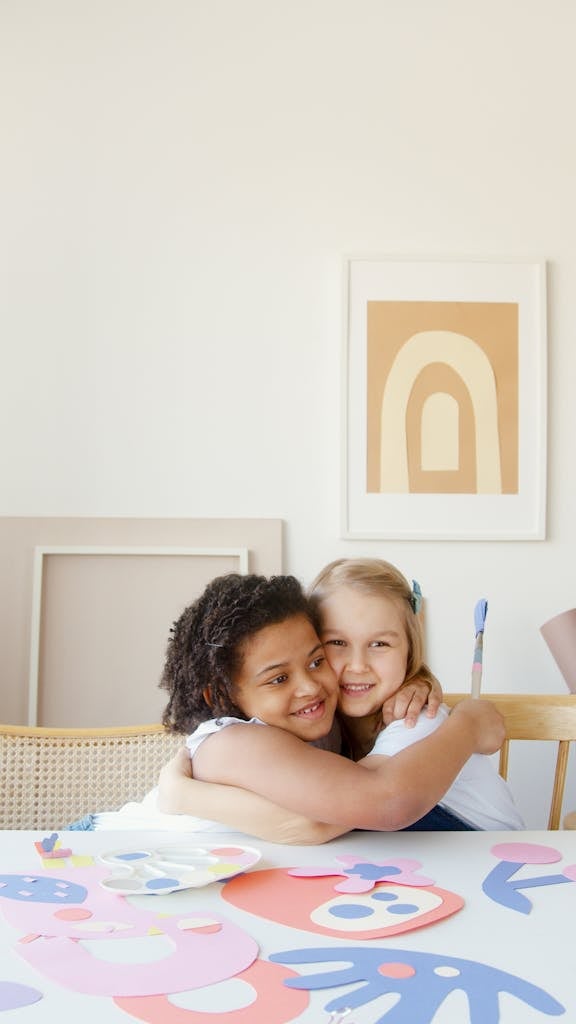
Wrapping It Up
Developing your unique coloring style isn’t about following rules or meeting someone else’s standards. It’s about discovering what makes you excited to create, and then leaning into that with confidence.
Remember, your style is already inside you, you just have to let it out.
And here’s the best part: no one else in the world colors like you. That’s your superpower.