How to Add Metallic and Glitter Effects Without Overdoing It
There’s nothing quite like the wow factor of metallics and glitter. They can take an ordinary coloring page and turn it into something dazzling. But there’s a fine line between “elegant sparkle” and “looks like a glitter bomb exploded.”
If you’ve ever gone a little overboard with metallic gel pens or glitter markers (no judgment we’ve all been there), this guide is for you.
Adding metallic and glitter effects can transform your art, but the key is to use them strategically. This post will teach you how to add just the right amount of shine to make your coloring pages pop without overwhelming the design.
Why Metallic and Glitter Effects?
why bother with metallics and glitter? Because they bring something extra to your work that regular colors just can’t match:
- Dimension: Metallics catch the light, giving your work a dynamic, 3D effect.
- Focus: Glitter naturally draws attention to specific parts of your design.
- Fun Factor: Let’s face it, coloring with shiny, sparkly tools is just plain fun.
But the key to success isn’t slapping glitter on everything. It’s about using these effects to highlight your work and create visual interest.
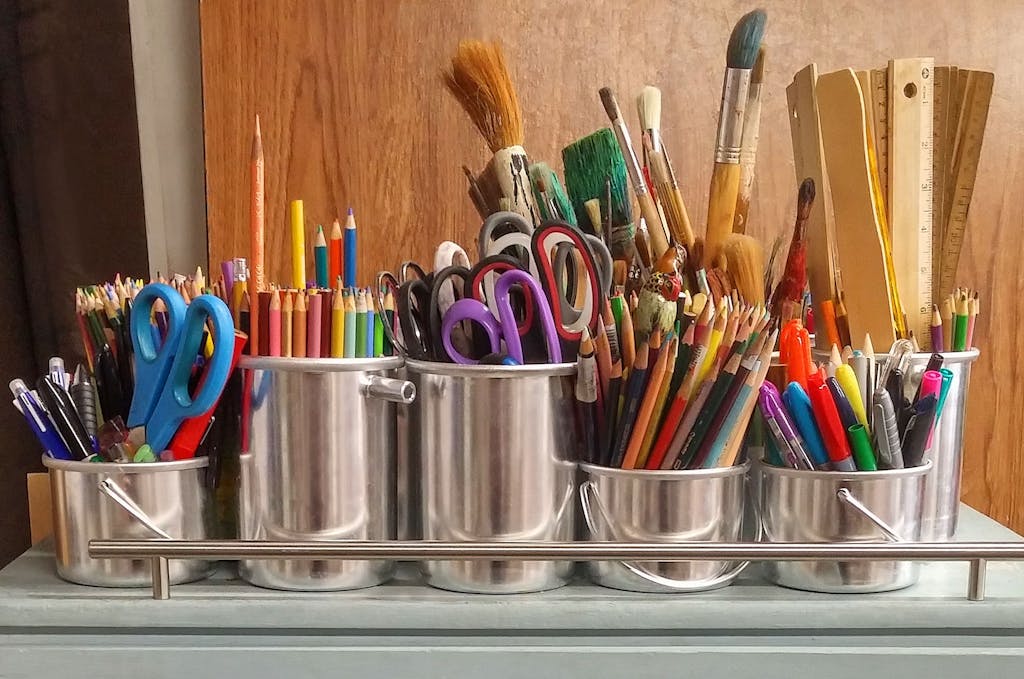
Tools You’ll Need for Metallic and Glitter Effects
Before we jump into techniques, let’s make sure your toolkit is up to par. The right supplies can make all the difference.
Must-Have Metallic and Glitter Tools
- Metallic Gel Pens
- Ideal for fine details and accents.
- Look for smooth-flowing options like Sakura Gelly Roll Metallics.
- Glitter Gel Pens
- Perfect for adding sparkle to smaller areas.
- Test brands like Pentel Sparkle Pop or Uni-ball Signo.
- Metallic Markers
- Great for bold, shiny effects on larger areas.
- Alcohol-based markers like Sharpie Metallics work well.
- Glitter Markers
- Use for vibrant, glittery finishes on medium-sized areas.
- Try Crayola Glitter Markers for a budget-friendly option.
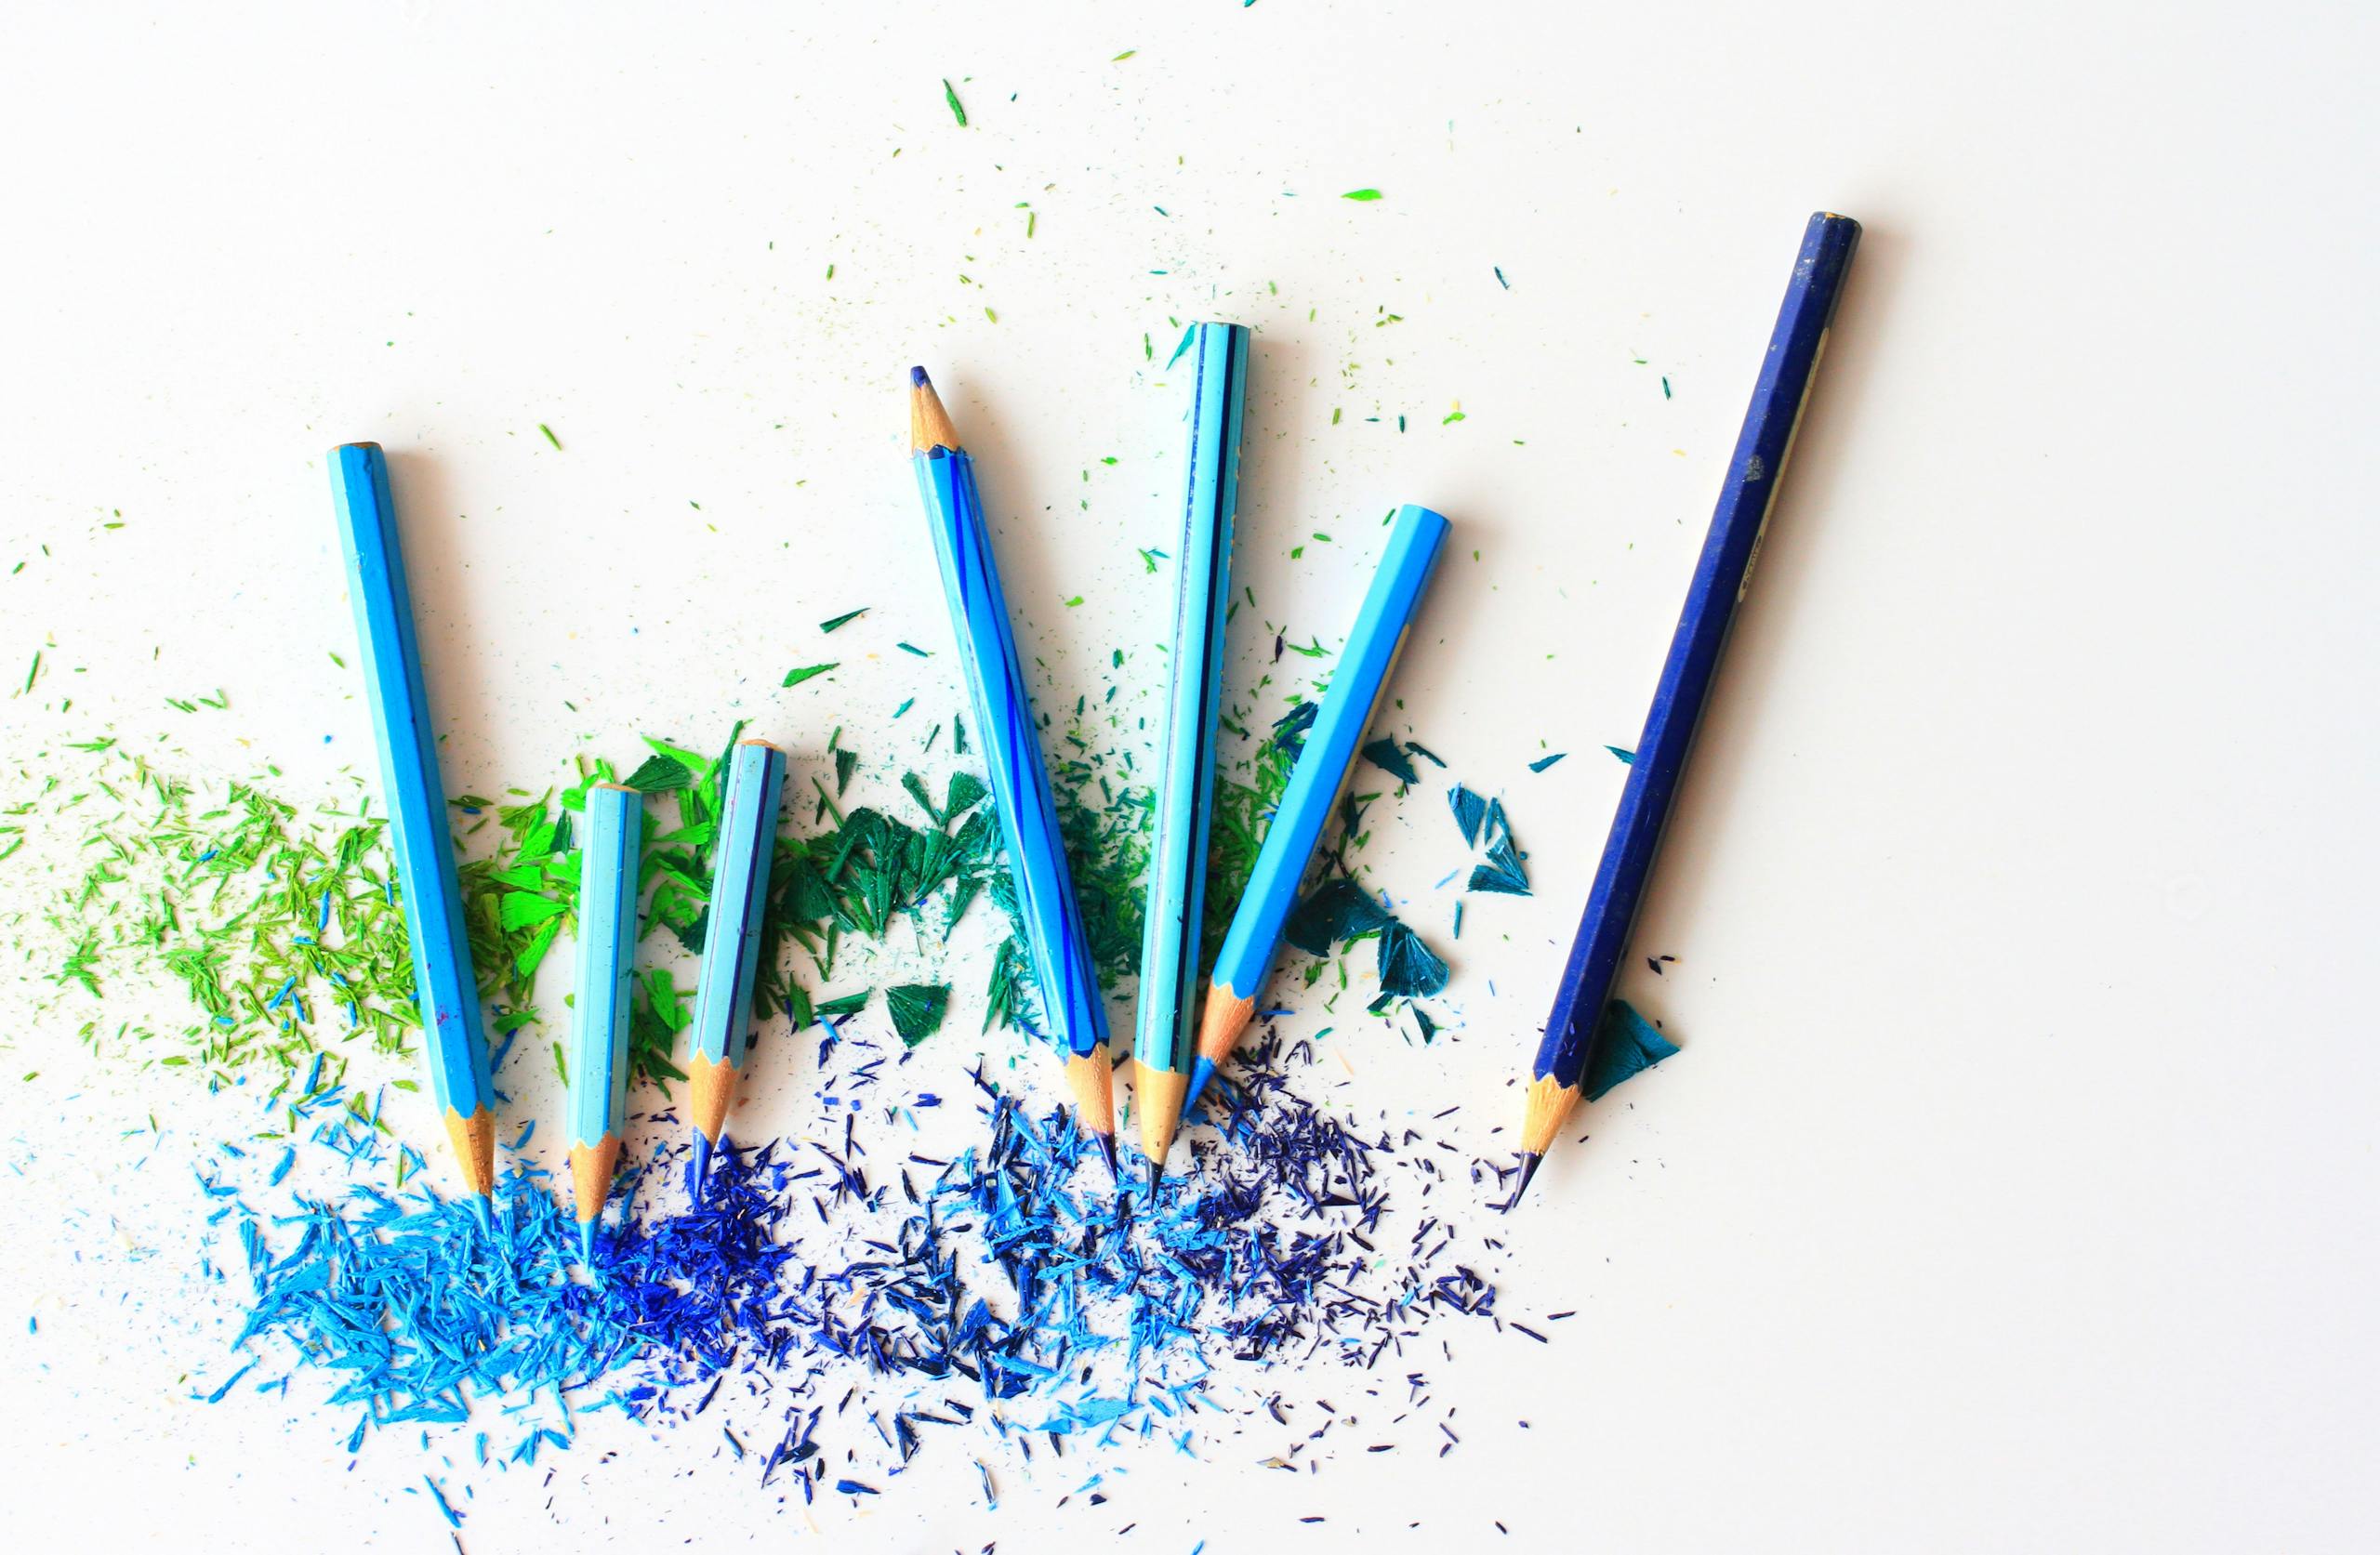
- Metallic Colored Pencils
- Subtle, shimmery effects with more control.
- Look for Prismacolor or Faber-Castell metallic pencil sets.
- Glitter Glue
- For a bold, dimensional sparkle.
- Brands like Stickles are easy to use and come in a variety of colors.
- Metallic Watercolors
- Add a soft, shimmery wash to backgrounds or larger sections.
- Test Finetec or Kuretake Gansai Tambi for high-quality options.
Pro Tip: Keep a scrap piece of paper handy to test your tools before using them on your coloring page.
Step-by-Step Guide: Adding Metallic and Glitter Effects
Now that you’ve got your tools, let’s talk about how to use them effectively. Here’s a step-by-step guide to creating stunning effects without overdoing it.
Step 1: Start Small
When it comes to metallics and glitter, less is usually more. Instead of going all-in right away, start with small accents.
- Where to Use: Focus on details like jewelry, stars, or edges of leaves.
- Why It Works: Small touches add elegance without overwhelming the design.
Pro Tip: Think of metallics and glitter as “highlights.” They should enhance the design, not dominate it.
Step 2: Layer for Depth
Metallics and glitter work best when layered with other colors. This adds depth and prevents your work from looking flat.
- How to Layer Metallics: Use regular colored pencils or markers as a base, then add metallic accents on top.
- How to Layer Glitter: Apply glitter pens or glue over complementary colors for a cohesive look.
Pro Tip: For a subtle shimmer, lightly layer metallic colored pencils over your base color.
Step 3: Blend Metallics with Regular Colors
Metallics don’t have to stand alone. Blending them with regular colors can create unique effects.
- How to Blend: Use metallic pencils to shade into non-metallic colors. For example, blend a metallic gold pencil into a yellow base for a glowing effect.
- Why It Works: Blending softens the metallic effect, making it feel more integrated.
Pro Tip: Use a blending pencil or solvent to smooth transitions between metallic and non-metallic areas.
Step 4: Use Glitter for Contrast
Glitter is most effective when it’s used to create contrast in your design.
- Where to Add Glitter: Focus on areas that naturally catch light, like water droplets, stars, or shiny objects.
- How to Use It: Outline shapes with glitter pens or add dots of glitter glue for a subtle sparkle.
Pro Tip: Avoid covering large areas with glitter—it can quickly become overwhelming.
Step 5: Experiment with Metallic Backgrounds
Metallics aren’t just for accents they can also make stunning backgrounds when used sparingly.
- How to Create a Metallic Background: Use metallic watercolors or markers to fill in large spaces like skies or borders.
- Why It Works: Metallic backgrounds create a dramatic contrast with matte foreground elements.
Pro Tip: Keep the background light and simple to avoid competing with the main design.
Step 6: Avoid Overlapping Too Many Effects
It’s tempting to throw all your shiny tools at one page, but restraint is key.
- The Problem: Too many effects can clash, making the page look chaotic.
- The Fix: Choose one or two metallic or glitter tools per project to keep things cohesive.
Pro Tip: Step back from your work every so often to assess the overall balance.
Common Metallic and Glitter Mistakes (and How to Avoid Them)
Mistakes happen, but these tips can help you sidestep the most common pitfalls:
Mistake 1: Overusing Glitter
- The Problem: Too much glitter can overwhelm your design and make details hard to see.
- The Fix: Use glitter sparingly, focusing on small accents or highlights.
Mistake 2: Forgetting About Dry Time
- The Problem: Wet glitter glue or markers can smudge and ruin your page.
- The Fix: Always let glitter glue or metallic paints dry completely before touching or framing your work.
Mistake 3: Choosing the Wrong Colors
- The Problem: Metallics and glitter don’t always match the rest of your palette.
- The Fix: Stick to metallics and glitters that complement your existing color scheme.
Pro Tip: Gold and silver are neutral enough to work with most palettes.
Mistake 4: Ignoring Light Sources
- The Problem: Randomly placed metallics and glitter can look disjointed.
- The Fix: Think about where the light would naturally hit your subject and place your effects accordingly.
Bonus Tips for Metallic and Glitter Effects
1. Build a Shimmer Test Page
Create a dedicated page to test all your metallic and glitter tools. This lets you see how they look under different lighting and how they interact with other colors.
2. Mix Metallics and Glitter with Matte Finishes
Contrast is key! Pair shiny effects with matte finishes for a balanced, sophisticated look.
3. Photograph Your Work in Good Lighting
Metallics and glitter shine brightest under the right conditions. When sharing your work, use natural light or a soft spotlight to capture their full effect.
Wrapping It Up
Metallic and glitter effects are the cherry on top of any coloring page, but the secret is all in the balance. When used thoughtfully, they can highlight your design, add dimension, and make your work truly sparkle.
Remember: it’s not about covering everything in glitter (tempting, I know), it’s about using shine strategically to enhance your masterpiece. So, grab your favorite metallic pens and glitter markers, and get ready to add just the right amount of sparkle to your next project.