Layering 101: How to Build Rich, Vibrant Colors Step by Step
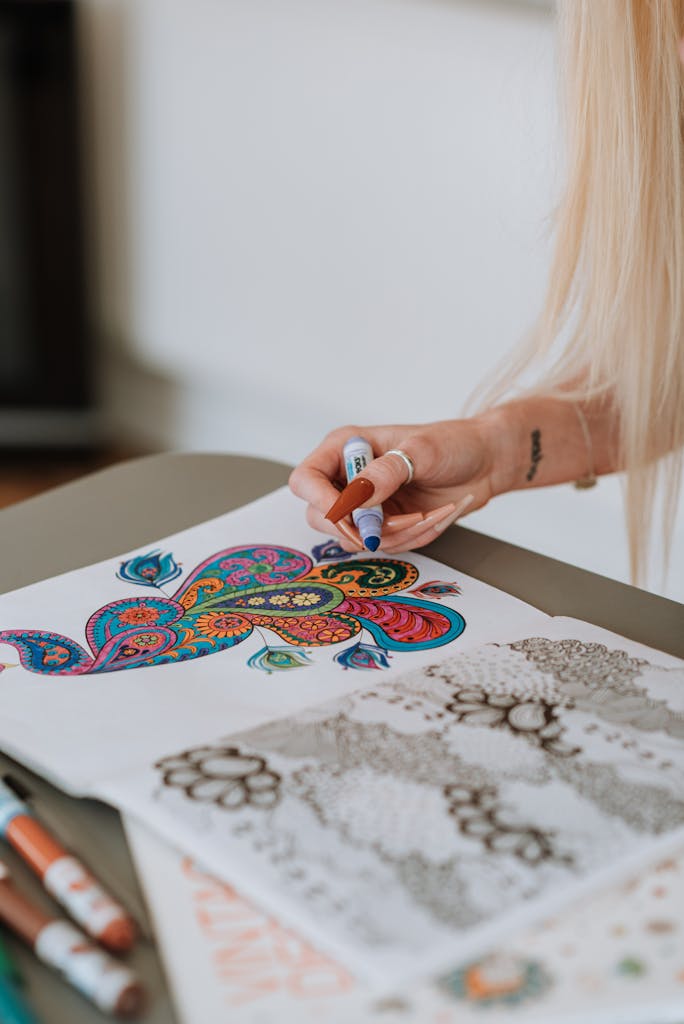
So, you’ve got your coloring tools ready, a blank page in front of you, and a burning question: “How do those pros create such rich, jaw-dropping colors?”
The secret sauce is layering. Layering that takes your coloring from “meh” to masterpiece. It’s how you make your pages pop, create depth, and achieve those stunning, Instagram-worthy results.

Why Layering Matters
When you layer, you’re not just slapping colors on a page; you’re building a story. Each layer adds depth, richness, and vibrancy. Instead of flat, lifeless hues, you get dynamic, dimensional results that make your work look professional even if you’re just starting out.
Layering also gives you control. Want a soft, pastel vibe? Light layers will do the trick.
Craving bold, dramatic colors? Keep building. The beauty of layering is that it’s totally customizable to your style and mood.
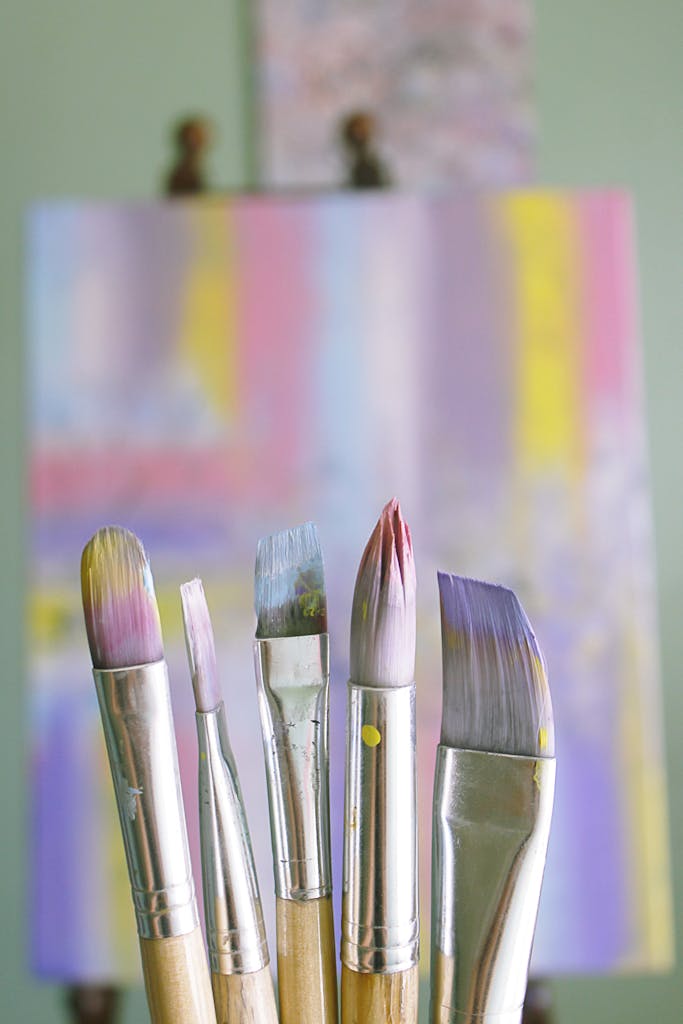
Step 1: Start with the Right Tools
Before you start layering, you need the right gear. Think of this as your coloring toolkit and trust me, quality matters.
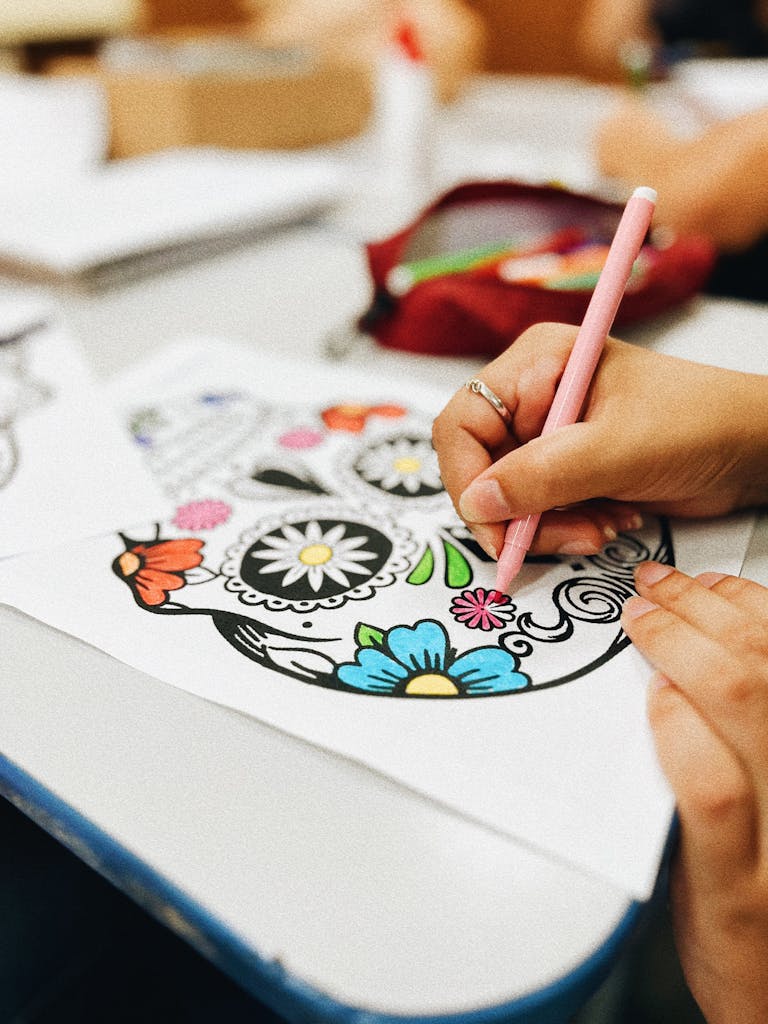
Colored Pencils
- Go for soft-core pencils like Prismacolor Premier or Faber-Castell Polychromos. These pencils blend beautifully and allow for smooth, even layering.
- Budget-friendly option: Crayola colored pencils are a solid choice for beginners.
Paper
- Thick, smooth paper is a must. Regular printer paper? Nope. It’s too thin and won’t hold up to multiple layers.
- Try a coloring pad or cardstock designed for colored pencils.
Blending Tools
- Blending stumps, tortillons, or even a colorless blender pencil can help you achieve seamless transitions.
- Optional: Baby oil or rubbing alcohol (more on this later).
Step 2: Light Pressure Is Key
Alright, here’s where most beginners trip up: they press too hard, too soon. Don’t do it! Heavy pressure creates harsh lines and makes it nearly impossible to build layers. Instead, use a light hand—like you’re barely tickling the paper.
The Why
- Light pressure allows you to gradually build color without damaging the paper.
- It also keeps your options open. If you go too dark too fast, you’ll have less flexibility to adjust or fix mistakes.
Practice Makes Perfect
Grab a scrap piece of paper and practice shading with light pressure. See how you can barely see the color at first? That’s exactly what you want. Trust the process.
Step 3: Build Your Base Layer
The base layer sets the tone for your entire piece. Think of it as the foundation—it’s not flashy, but it’s essential.
How to Do It:
- Choose your lightest color for the area you’re working on. For example, if you’re coloring a sunset, start with pale yellow.
- Use light, even strokes to fill in the area. Don’t worry about perfection; just aim for a smooth, consistent layer.
- Keep your hand relaxed. This isn’t a race, so take your time.
Pro Tip:
Use small, circular motions instead of straight lines. This helps avoid streaks and creates a more even layer.
Step 4: Add Mid-Tones
Once your base layer is down, it’s time to add some mid-tones. These colors bridge the gap between your lightest and darkest shades, creating depth and dimension.
How to Do It:
- Choose a medium shade that complements your base color. For our sunset example, this might be orange or peach.
- Layer this color over the base using light pressure.
- Gradually build the intensity by going over the area multiple times.
- Blend the edges where the two colors meet. This is where your blending tools come in handy!
Step 5: Introduce Shadows and Highlights
Here’s where the magic (oops, I mean skill) happens. Adding shadows and highlights takes your work to the next level.
Shadows
- Use your darkest color to create shadows. For a sunset, this could be deep red or even purple.
- Focus on areas where light wouldn’t hit directly, like the bottom of clouds or the horizon line.
- Start with light pressure and gradually darken as needed.
Highlights
- Go back to your lightest color (or even a white pencil) to add highlights. For our sunset, this could be the top edges of clouds or the center of the sun.
- Use small strokes to blend the highlights into the surrounding colors.
Step 6: Blend, Blend, Blend
Blending is the secret weapon for smooth, professional-looking results. It’s how you get rid of harsh lines and create those dreamy transitions.
Blending Tools:
- Blender Pencil: Use it to soften edges and mix colors. Apply light pressure and small, circular motions.
- Blending Stump: Perfect for detailed areas. Dip it in baby oil for extra smooth blending.
- Household Items: A Q-tip with a tiny bit of baby oil can work wonders in a pinch.
Pro Tip:
When using baby oil or rubbing alcohol, test it on a scrap piece of paper first. A little goes a long way, and you don’t want to oversaturate your paper.
Step 7: Layer, Rinse, Repeat
Here’s the thing about layering: it’s not a one-and-done process. You’ll often need to go back and add more layers to achieve the depth and vibrancy you want.
How to Know When You’re Done:
- The colors are rich and vibrant.
- You can see distinct shadows and highlights.
- There are no harsh lines or streaks.
Pro Tip:
Step back and look at your work from a distance. This helps you spot any areas that might need more blending or additional layers.
Troubleshooting Common Problems
Problem: My colors look streaky.
Solution: Use lighter pressure and build more layers. Also, try small, circular motions instead of straight lines.
Problem: My paper is getting rough.
Solution: Slow down. Heavy pressure damages the paper and makes it harder to layer. Invest in thicker paper if this happens often.
Problem: My colors aren’t blending.
Solution: Check your tools. Soft-core pencils and a good blender are key. If all else fails, try a touch of baby oil or rubbing alcohol.
Advanced Layering Techniques
Feeling confident? Let’s kick things up a notch.
Burnishing
- Burnishing is the process of pressing hard to blend colors and create a polished finish.
- Use a light-colored pencil (or white) and go over the entire area with firm pressure. This smooths out any remaining texture and intensifies the colors.
Color Mixing
- Experiment with unconventional color combos. For example, layer blue over yellow to create a unique green.
- Test on scrap paper to see how different colors interact.
Final Thoughts
Layering takes practice, patience, and a willingness to experiment. But trust me, the results are worth it. With the right tools, techniques, and a little persistence, you’ll be creating rich, vibrant works of art in no time.